Make PNG font samples with ImageMagick
In this article we'll be poking around ImageMagick from the command-line to get it to make great looking PNG previews of sample text typeset in various fonts, like the one below.

As always with ImageMagick and other tinker-friendly tools, we'll accidentally learn a few other things along the way.
Note: I'm using the latest version of ImageMagick which, at the time of writing, is
7.0.10. ImageMagick 7 introduces a singlemagickcommand for everything; replace it withconvertin the examples below in case you're using version 6 or earlier.
Writing one line of text
The quick brown fox jumps over the lazy dog and The five boxing wizards jump quickly are two well-known pangrams — compact phrases that use most of the letters from the Latin alphabet, an aspect which makes them excellent choices for previewing typefaces.
As our first quest, let's write the sentence The five boxing wizards jump quickly on a piece of PNG.
In ImageMagick, the -draw option allows us to paint all sorts of things onto an image — pixels, shapes, and text:
magick \
  -size 1000x200 \
  canvas:none \
  -pointsize 48 \
  -draw "text 50,50 'The five boxing wizards jump quickly.'" \
sample.png
In the command above we set up a transparent canvas (canvas:none) of 1000×200 pixels (the -size option); using a font size of 48 points we then write our phrase starting at the (50,50) coordinate. The result, shown below with a red border to discern the canvas bounds, is already promising:

To place the text in a more predictable place on the canvas, for example to keep it vertically aligned regardless of the font in use, handwritten coordinates won't cut it, especially if we aspire to run the command automatically for lots and lots of fonts. This is where the -gravity option comes in handy: with it, we can align the canvas and the text by their matching side. For example, -gravity West will place the text's left-hand side against the canvas's left-hand side:
magick \
  -size 1000x200 \
  canvas:none \
  -pointsize 48 \
  -gravity West \
  -draw "text 0,0 'The five boxing wizards jump quickly.'" \
sample-centered.png
Much better! Notice we've replaced the (50,50) coordinate pair with (0,0); we don't want the text to be offset at all from the edge of the image.
Alternatively, instead of trying to position the text on the canvas, we can make the canvas fit snuggly around the text with the -trim option:
magick \
  -size 1000x200 \
  canvas:none \
  -pointsize 48 \
  -gravity Center \
  -draw "text 0,0 'The five boxing wizards jump quickly.'" \
  -trim \
sample-trimmed.png
For best results, place the text smack in the middle of the canvas (-gravity Center), and make sure the canvas is large enough to fit the entire text with a variety of fonts. The canvas gets trimmed in the end, it doesn't hurt to start with considerable padding.
Using specific fonts
Up until now we've been drawing text with some Helvetica-or-similar font. But the whole point of the exercise was to make PNG previews for fonts, plural. The -font option takes a path to a font file (.ttf, .otf, etc.) to use for drawing all the text:
magick \
  -size 1000x200 \
  canvas:none \
  -font ./MyFont.otf
  -pointsize 48 \
  -gravity Center \
  -draw "text 0,0 'The five boxing wizards jump quickly.'" \
  -trim \
MyFont-sample.png
The
-fontoption also (technically, sort of) allows you to specify the font by its name instead of pointing to a font file; but the available fonts are not always, as one would assume, the fonts installed on your your machine. Instead you're bound to the list you see when you runmagick -list font; what it contains depends on your operating system. On macOS, you might find this script by Justin Searls useful for making ImageMagick aware of system fonts.
What's better than using a custom font? Using a whole bunch of custom fonts! In a folder full of .otf font files, we can generate PNG samples for them in bulk using a for-loop:
for font in *.otf; do \
magick \
  -size 1000x200 \
  canvas:none \
  -font ./$font \
  -pointsize 48 \
  -gravity Center \
  -draw "text 0,0 'The five boxing wizards jump quickly.'" \
  -trim \
"$font-sample.png"; done
The $font variable holding the path to the current font shows up twice in the command: as -font ./$font for writing text, and as part of the output filename, $font-sample.png.
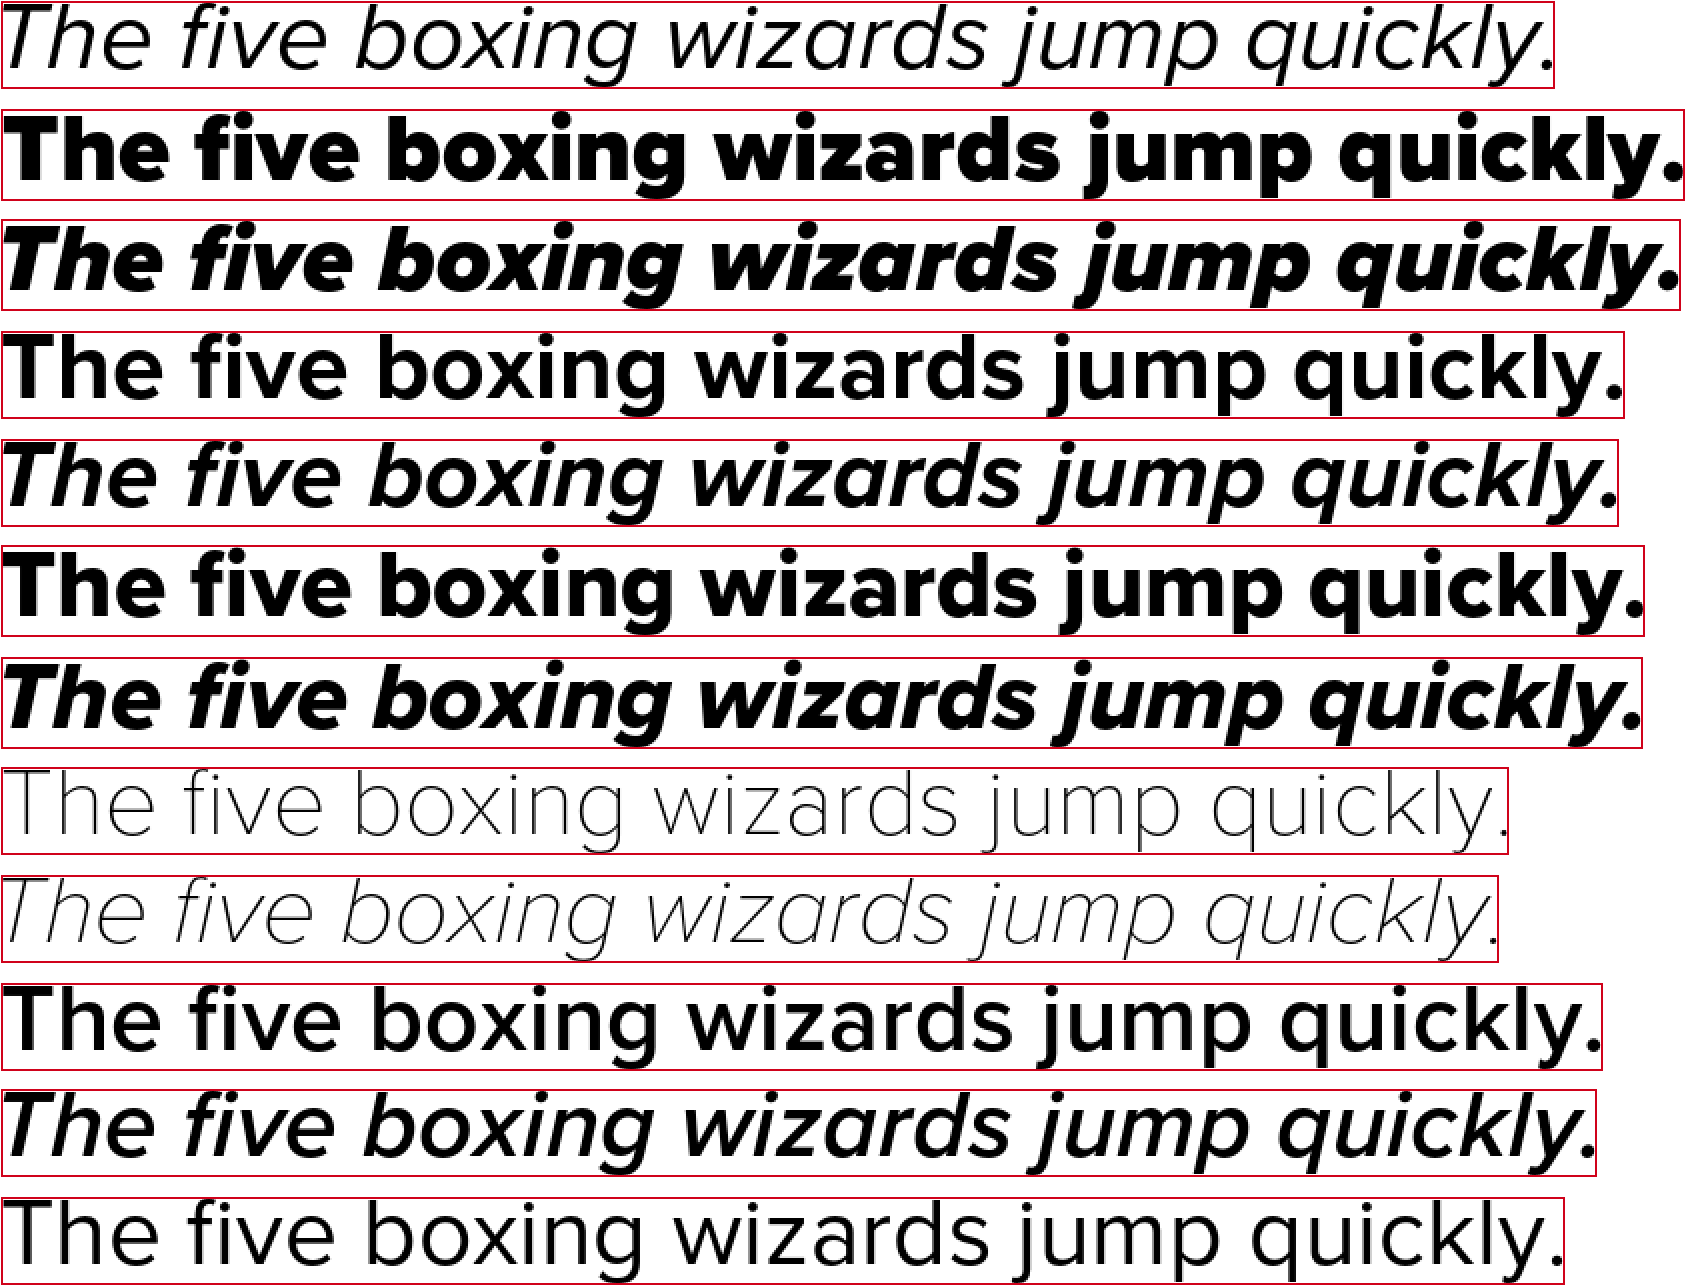
This gets us nicely named, nicely trimmed, previews:
Making a GIF out of the images
I thought ffmpeg is a good tool to make an animated GIF that uses the PNGs as frames, but this Stack Overflow answer showed me a quicker solution with ImageMagick's convert utility:
magick convert \
  -delay 0 \
  -dispose Previous \
*.png fonts.gif
The -delay option sets how much each frame in the animation lasts, with 0 having the frames play as fast as possible. The -dispose Previous option clears the canvas after each frame, instead of overlaying frames on top of each other.

A beautiful animated GIF where... the canvas is 1000×200 pixels in size and all the texts are centered?! As far as we know, every individual sample is trimmed to a different size!
Turns out that ImageMagick tags images it produces with metadata it can, and will, then use if the image file is further processed. The identify command lists out the metadata:
magick identify -verbose MyFont-sample.pngHere's an abridged version of the output:
Image: MyFont-sample.png
  Format: PNG (Portable Network Graphics)
  (...)
  Geometry: 738x45+0+0
  (...)
  Page geometry: 1000x200+130+76
  Origin geometry: +130+76
It now becomes clear that the -trim option we had used to generate the PNGs stores the position of the trimmed area on the original canvas as the Page geometry metadata. Flashback to all the words in the docs and the bit about +repage starts to make sense:
The page or virtual canvas information of the image is preserved allowing you to extract the result of the
-trimoperation from the image. Use a+repageto remove the virtual canvas page information if it is unwanted.
To remove the extraneous Page geometry metadata, the adjusted command is:
magick \
  -size 1000x200 \
  canvas:none \
  -font ./MyFont.otf \
  -pointsize 48 \
  -gravity Center \
  -draw "text 0,0 'The five boxing wizards jump quickly.'" \
  -trim \
  +repage \
MyFont-sample.png
Sure enough, the same(-ish) command to build the GIF:
magick convert \
  -delay 0 \
  -dispose Previous \
  -layers trim-bounds \
*.png fonts.gif
Now does what we'd expected it to do in the first place:

Not that it's in any way better, but, you know, for the sake of completeness. And yes, I cheated a smidge. I added in the -layers trim-bounds option, on the house, to spare you the disappointment of finding out what ImageMagick does by default when it encounters frames of different sizes. Let me just say the option enlarges the canvas so that all the frames fit entirely.
After this brief foray into GIF-making, let's get back to the subject at hand.
Writing more than one line of text
ImageMagick doesn't have any built-in mechanisms to lay out text on multiple lines, so we have to do it manually, line by line. The -draw routine becomes:
-draw " \
  text 50,64 'The five boxing' \
  text 50,128 'wizards jump' \
  text 50,192 'quickly.'" \
Here we devise a line height of 64 points, and place the lines of text at 64×1, 64×2, and so on. On the horizontal axis, we're not starting the text directly at the edge of the image, because the flourishes on some of the more decorated typefaces may get cut off. With a 50-point offset, we give the font ample space to do its thing, and we'll get rid of the excess later, using the -trim option.
The full command is presented below:
magick \
  -size 640x320 \
  canvas:none \
  -font ./MyFont.otf \
  -pointsize 48 \
  -draw " \
    text 50,64 'The five boxing' \
    text 50,128 'wizards jump' \
    text 50,192 'quickly.'" \
  -trim \
  +repage \
MyFont-sample.png
And produces images such as this one:

But when put side by side, we notice the baselines don't align across images.

If we put the trimmed images side by side, we can tell the baselines don't match. Ideally, we only want to trim the excess space on three of the edges, and leave the top edge as-is, so that lines begin at the 64-point mark regardless of the font.
There must be more than one way to achieve this, but one that I found straightforward is to add a pixel guard at the top, trim normally, then chop the pixel off:
magick \
  -size 640x320 \
  canvas:none \
  -font ./MyFont.otf \
  -pointsize 48 \
  -background none \
  -splice 0x1 \
  -draw " \
    text 50,64 'The five boxing' \
    text 50,128 'wizards jump' \
    text 50,192 'quickly.' \
    point 50,0" \
  -trim \
  -chop 0x1 \
  +repage \
MyFont-sample.png
Firstly, -splice 0x1 adds a transparent (by virtue of the previous -background none declaration) pixel row at the top of the image. Then -draw point 50,0 places a solid black pixel on that top row, which causes the subsequent -trim option to only crop transparent pixels along the other three edges. Finally, -chop 0x1 removes the row we added earlier. This makes the text in all images line up nicely.

That's it! That's how you make PNG font samples with ImageMagick.